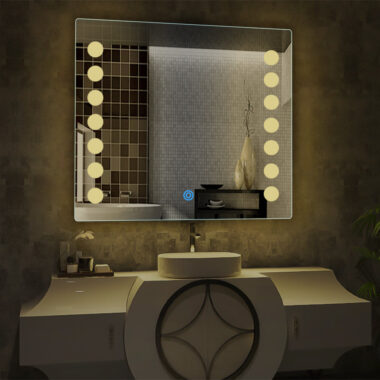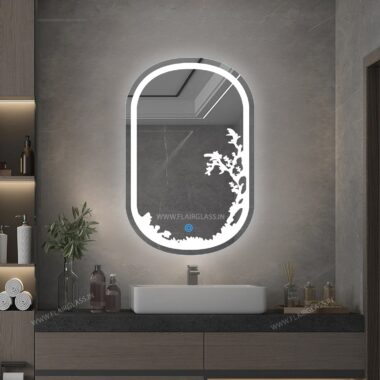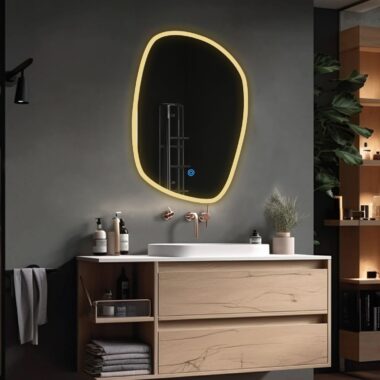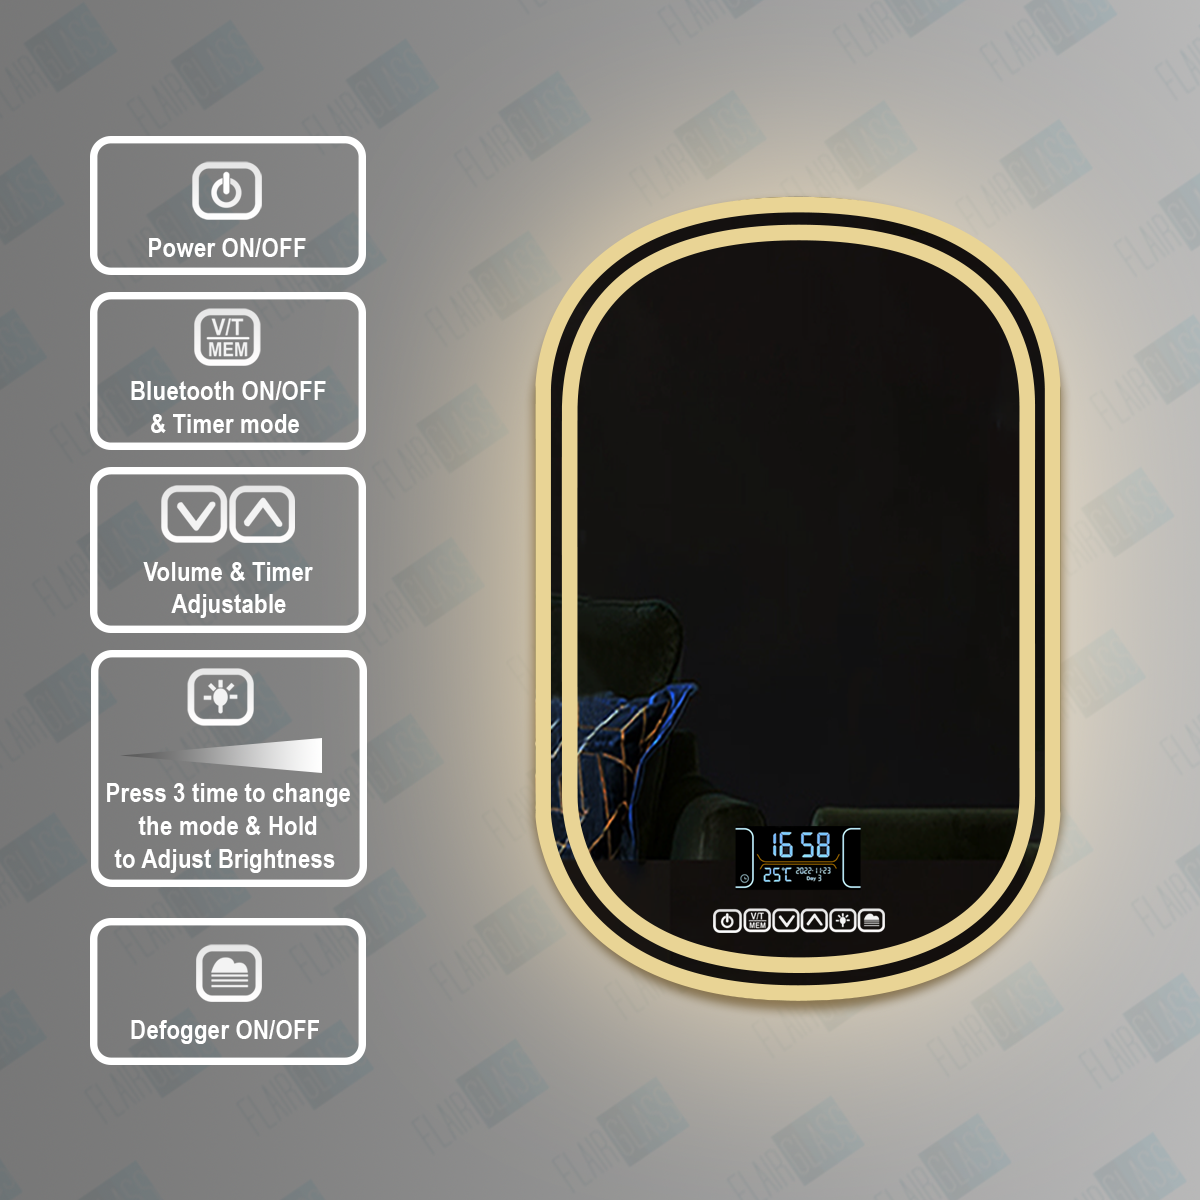
LED mirrors require both physical mounting and electrical connection. While DIY enthusiasts can handle the mounting, we strongly recommend hiring a certified electrician for the wiring — especially in bathrooms where water and electricity meet.
Before You Start
Tools and Materials Needed
• Spirit level
• Drill and masonry bits
• Wall anchors (usually included)
• Screwdriver
• Wire stripper
• Voltage tester
• Pencil for marking
• Tape measure
Safety First
Turn off power at the circuit breaker before starting any electrical work. Use a voltage tester to confirm power is off.
Step 1: Choose the Location
• Height: Center of mirror should be 150-160cm from floor (eye level for most adults)
• Centering: Align mirror center with basin/vanity center
• Clearance: Leave 10-15cm gap from countertop to mirror bottom edge
Step 2: Mark Mounting Points
1. Hold mirror against wall at desired height
2. Use spirit level to ensure it’s perfectly horizontal
3. Mark the mounting bracket positions with pencil
4. Double-check measurements before drilling
Step 3: Install Mounting Brackets
1. Drill holes at marked points (use masonry bit for concrete/brick)
2. Insert wall anchors (plastic plugs)
3. Screw mounting brackets into anchors
4. Verify brackets are level and secure
Step 4: Electrical Wiring (Hire an Electrician)
This step must be done by a certified electrician in India. Improper wiring can cause electric shock or fire.
Hardwired Connection (Recommended)
• Electrician will connect mirror wires to bathroom circuit
• Wires are concealed in wall
• Cleanest look, no visible cords
• Complies with IP44 waterproof requirements
Plug-In Connection (Alternative)
• Some mirrors come with plug adapter
• Requires nearby electrical outlet
• Visible cord (can be concealed with cable management)
• Ensure outlet has RCD/GFCI protection in bathroom
Step 5: Hang the Mirror
1. With help (mirrors are heavy), lift mirror onto brackets
2. Secure with provided screws/clips
3. Ensure mirror sits flush and level
4. Test that it’s firmly attached (gentle push test)
Step 6: Test All Functions
Turn power back on and test:
✓ LED lights turn on/off
✓ Touch controls respond
✓ Dimmer function works
✓ Anti-fog demister heats up (if equipped)
✓ No flickering or buzzing sounds
Common Installation Mistakes
1. Wrong Wall Anchor Type
Problem: Using plastic anchors on hollow walls
Solution: Use toggle bolts or cavity anchors for drywall; heavy-duty anchors for solid walls
2. Insufficient Support
Problem: Large mirrors (20kg+) hung on weak anchors
Solution: For heavy mirrors, mount brackets into wall studs or use chemical anchors
3. Skipping the Level Check
Problem: Crooked mirror after installation
Solution: Use spirit level at every step; check horizontal AND vertical alignment
4. Inadequate Bathroom Wiring
Problem: Bathroom circuit lacks RCD protection
Solution: Electrician should verify RCD/GFCI protection exists (mandatory for bathroom circuits)
Maintenance Tips
• Clean with microfiber cloth and glass cleaner (avoid ammonia on LED strips)
• Wipe down weekly to prevent water stains
• Check mounting screws annually (tighten if loose)
• If LEDs flicker, check electrical connections
When to Call a Professional
Hire an electrician if:
• You need to run new wiring to the mirror location
• The bathroom circuit lacks RCD protection
• You’re uncomfortable working with electricity
• Local building codes require licensed installation
Safety Note: In India, bathroom electrical work should always be done by certified electricians familiar with IS 732 wiring standards.